Like most married couples, we exchange wedding anniversary gifts. From the very beginning we decided to follow the traditional anniversary gifts. This year it is our 5th Anniversary (yes, five years already!). Well, year 5 is wood.
Wood? Um. Really? Who came up with wood? Seriously, wood?
Ok then. Wood it is.
What wood gift can I get her??? Immediately my mind went to:
"What rolls down stairs
alone or in pairs,
and over your neighbour's dog?
What's great for a snack,
and fits on your back?
It's log, log, log.
It's log. It's log.
It's big. It's heavy. It's wood.
It's log. It's log. It's better then bad, it's good."
 |
| I know your singing the song! |
Once I got the smile off my face and came to my senses, I gave it some serious thought.
I decided to surprise her and redo her walk-in closet. She likes having a walk-in closet, and has never said a bad thing about it, content just knowing it was more than most have; but if you asked me, it was pretty bad. It was the Uma Thurman of closets. I mean, completely unimpressive to look at.
I always thought of a walk-in as a non-essential...but if you are going to have one, might as well have one that looks good and is super practical and you're not totally embarrassed to show it off. Besides, in my opinion, she deserves to have the nicest one possible. So I decided to see if I can give it to her.
Let's get started with some pictures of the before.
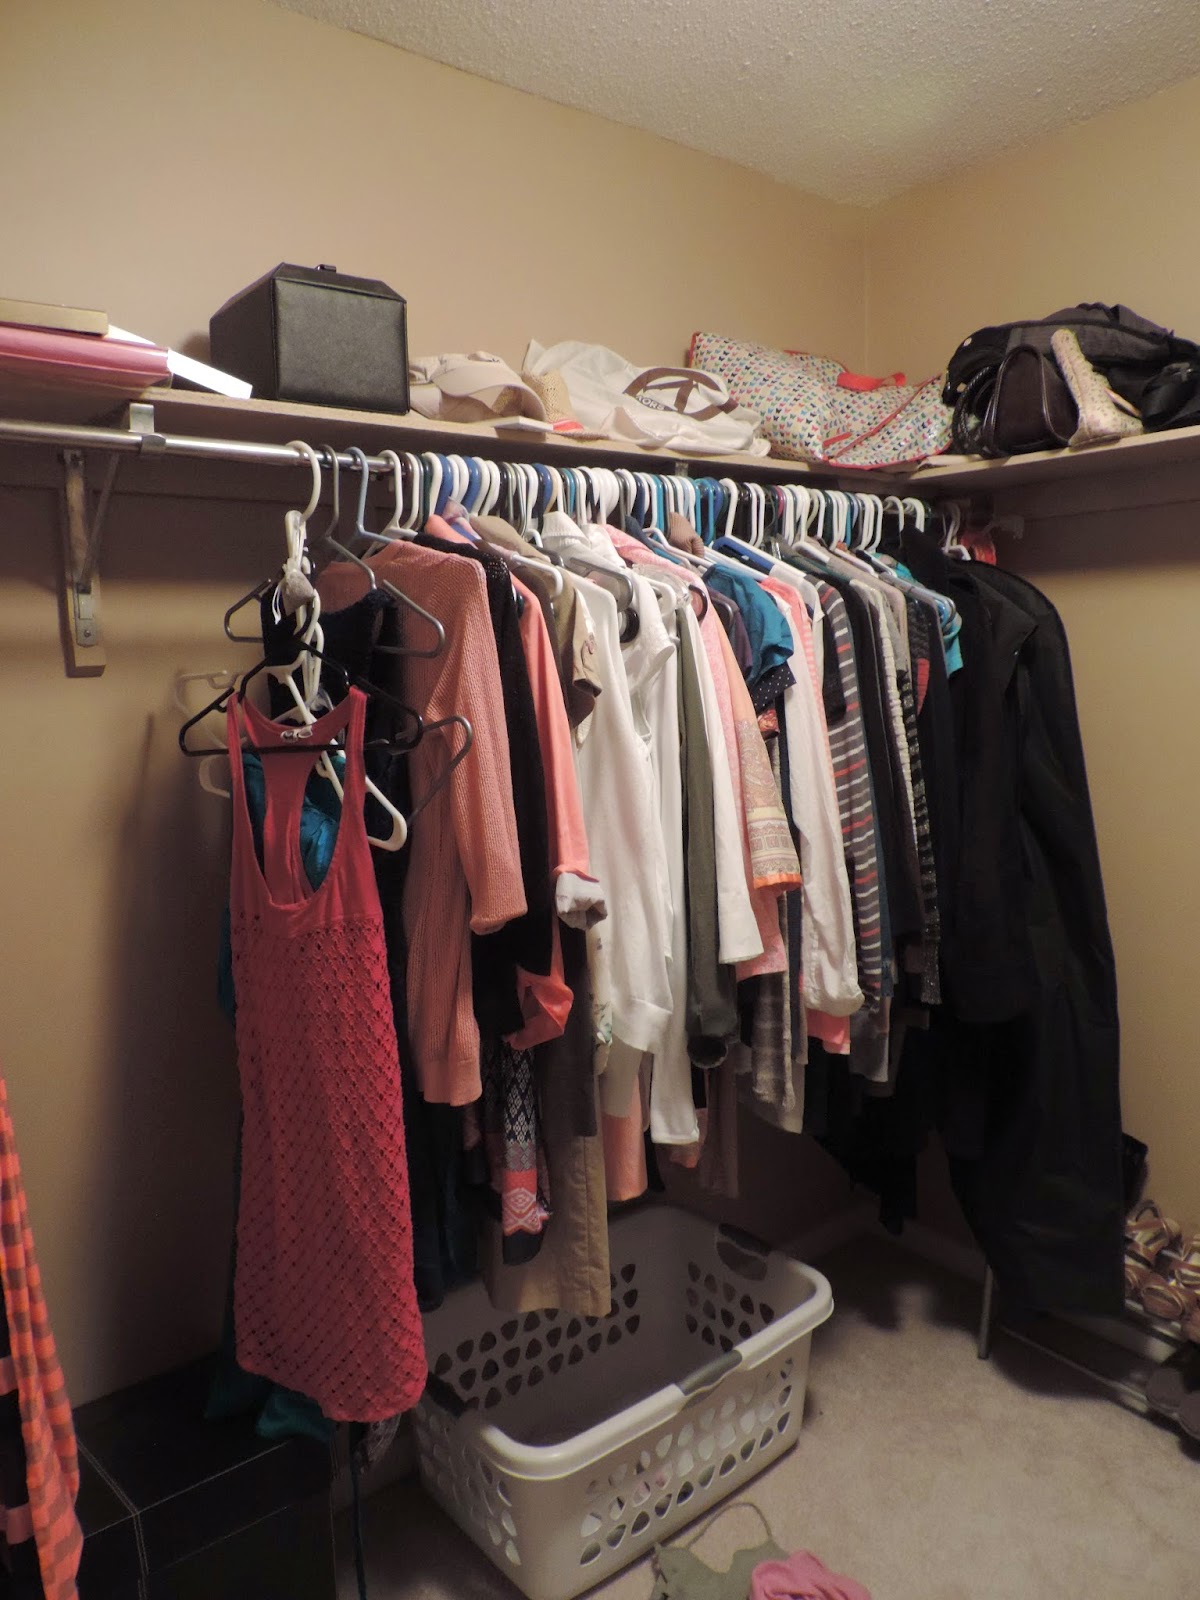


Not sure you can tell, but the room is almost a full U shape with with just shelving wrapping around, and a hanging bar underneath the shelving (it has a entrance door on one side of the U, and in the open space of the U is the door to the ensuite bathroom). Its pretty plane and not much to it.
What I really didn't like was the industrial/basement-garage feel of the shelving and pole.
The shelving is nothing more then painted particle baord, and the brackets for the pole are thick steel.
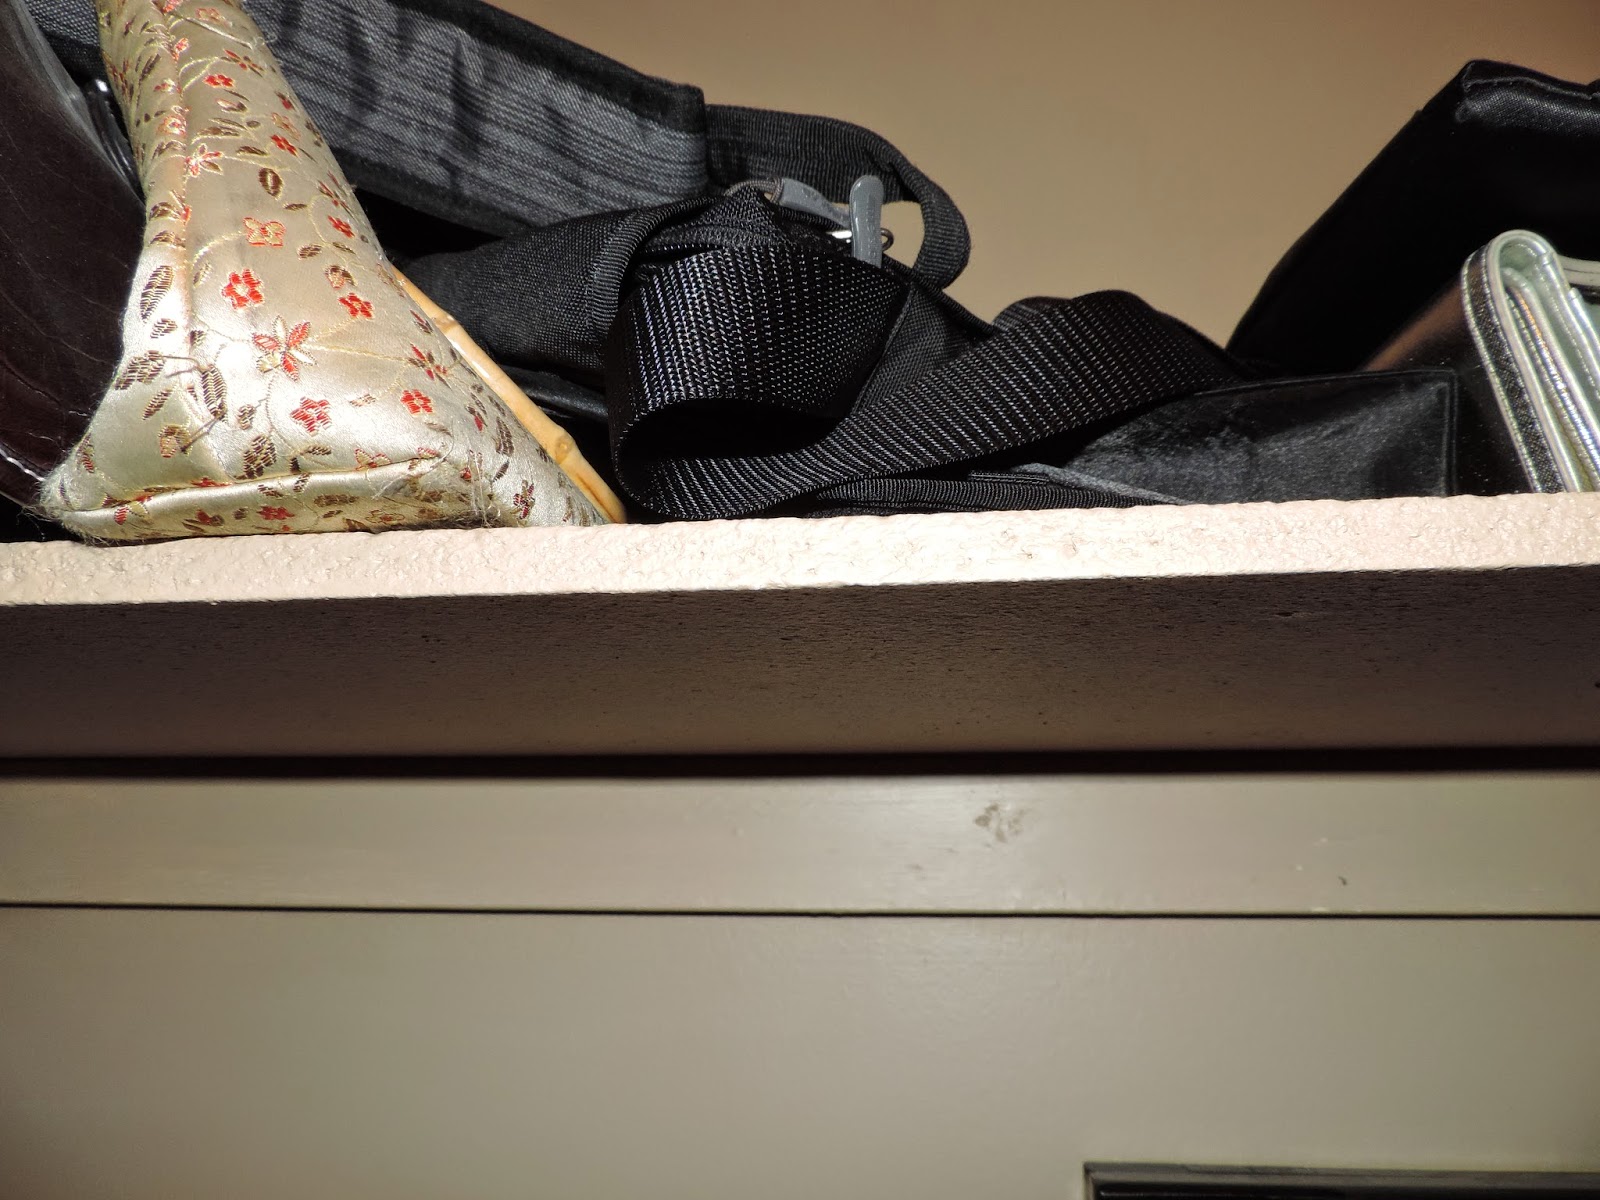 |
| Didn't even bother to sand or router the edges. |
 |
| That is one ugly bracket. |
 |
| With clothes removed. |

And if anyone remembers my biggest distaste in reno demolitions...NAILS! What was this obsession with nails years ago???? Does not make for an easy tear down.

That's when I figured out the previous owners did something absolutely ridiculous. They painted these supporting pieces of wood on ALL sides, then nailed them to the wall. So what did the paint do? Yes kids, it stuck to the wall, and when I pulled the nailed-in board out it took the drywall with it. ARGGGG!

On to a major patch, sand and paint job.
 |
| Starting to patch |
 |
| Finished and painted. Didn't have to be too careful as 90% of the wall will be covered by the clothes. |
Ok, so now that the walls are prep'd, it was time to start the makeover enhancement procedure.
I was going to actually build everything from scratch, but when I looked at the options as opposed to buying something prefabricated the cost did not outweigh the time and effort it would have taken to produce something nice, So I started to look for something that fit all the requirements.
First off, yes, it is a walk-in, but it is not over-sized by any means (only 8x8), so large cabinetry is out of the question. Kelly likes to hang her clothes, she is not big on shelving or drawers. But she had used up almost all the existing hanging space and had resorted to using collapsible-condenser-hangers (where you hang multiple hangers on one hook to save space). So the goal was to give her as much hanging options as possible with room to expand. Further, I wanted it to not look cheap and would stand up over time. That meant I needed to stay away from anything veneer. I could have gone wire frame units but it wasn't the look I was going for. As well, I liked the idea of the shelving as it is easily viewable and accessible.
I had one last thing to consider. Sometime in the future we know we are going to replace the carpet (which I wasn't willing to do as part of this project). So whatever I did, it had to keep in mind that eventually the carpet would need to be replaced.
Yikes...I had my work cut out for me.
(fast forward 3 weeks)
Ya! I found what I was looking for. It was time to install.
The unit I chose came with a template to assist in marking the wall for screw holes. Um...let's just say it was not sized correctly. So after the first attempt I had to fill in the holes, sand, and repaint. Then Just figure it out myself.
 |
| useless template |
 |
| support brackets |
 |
| wall unit floats off the ground (so yes, I can remove the carpet!) |
Next came the side shelving. In order to hang the Main unit I needed to mount it to the studs. But that meant the side shelf pieces didn't fit. One side was too long, the other side was too short. So I needed to cut some off one side, and add it onto the other.
 |
| Shelving added |
 |
| Can you tell where I added the extra piece on the end? |
 |
| One pole on one side for long dresses. Double pole on other side for twice as much hanging space. |
One side done. Two more to go.
In the middle of the U room, I just hung up a shelf.
On the other side I hung a shelf with a pole, and then below it another pole.
These shelves were a pain to hang level all by myself. But in the end I taped the level to the shelf so I had a constant indicator.
 |
| middle shelf only |
 |
| side shelf with pole attachment |
 |
| Here you can also see the jewellery board I built for Kel a few years ago; she would kill me if I took that away. |
She also needed a solution for belts. There is a whole wall unused behind the door. So I got some hooks so she can hang her belts there. And then added a couple of extra hooks around the room. Can never have too much hanging space.
 |
| Belt hooks behind door |
 |
| extra hooks |
Here are some pics of the final install with the clothes brought back into the room.

 |
| Pic of the belts |

 |
| Plenty space up top for all her handbags. |
 |
| You can also see here the little velvet push pin board I made for her earrings. |


Hard to take wide photos in a small room like that...but I think you get the idea.
Also thought I would try my hand at adding a video.
Lastly, I thought I would show how much space she actually saved.
 |
| No longer need to use all these multi-hangers |
 |
| Leftover hangers for future growth |
Happy 5th Anniversary babe! Love you. Hope you enjoy your new closet.
And hope you all enjoyed taking a peak into my wife's closet.
Till next time, thanks for checking this out.
K&K
(By the way, in case you are wondering...Kev's clothes go in the spare room closet.)