The job is complete. My back is sore, and I am beyond exhausted, but I dare say the end result is worth it.
So, last time we were together the floor was just completed. In my mind, I thought...I'm 75% of the way there. How difficult could the rest of this be? Let's find out how wrong I was...
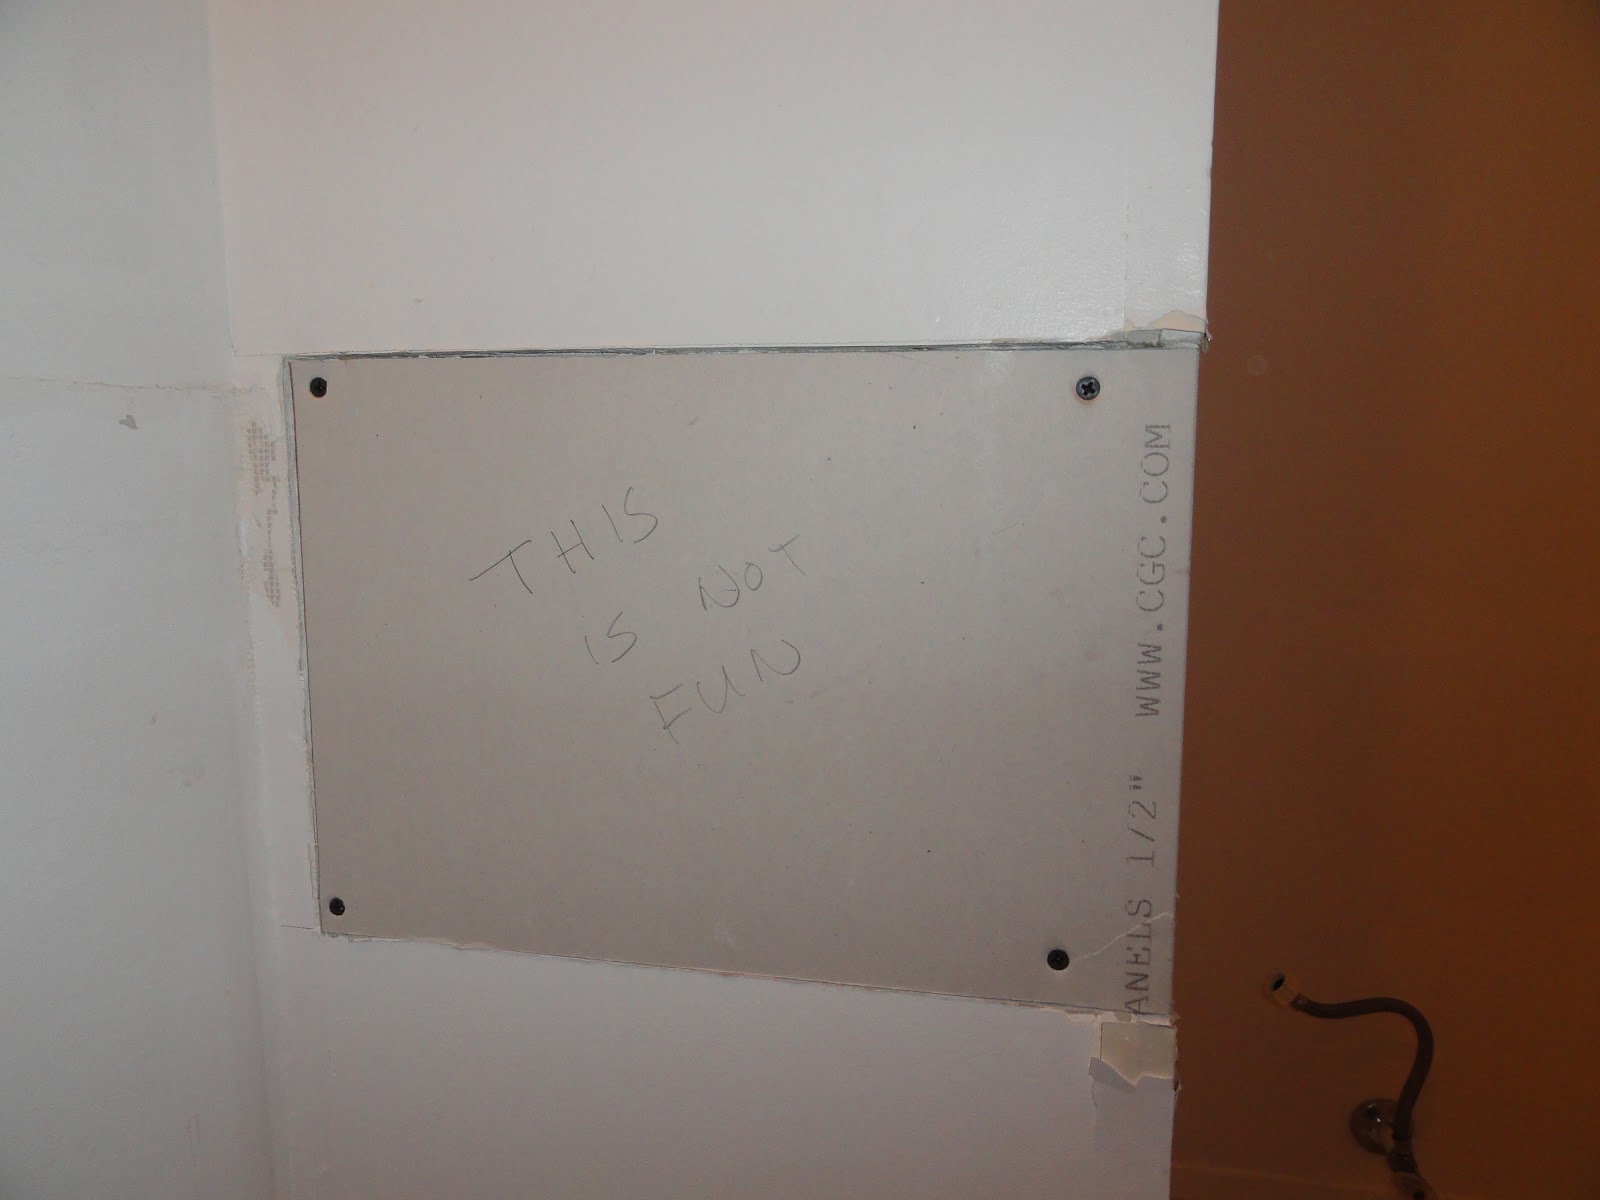
Ok, so remember the hole in the wall? The hole where the previous owners cut a groove in the drywall to slip the edge of the counter top into.

Well I had to repair it. The corner was damaged, which wouldn't be a big deal if they had used corner bead, but it was just corner tape with metal. And that metal is impossible to cut without bending it out of shape. So, off it came. Next cut out a larger area, enough to hold a big chunk of drywall. Mud, tape, sand, mud and sand again, and then sand again. P.S. drywall mud takes forever to dry.


Anyway, once drywall is all sanded, it is time to paint. I've done a lot of painting in my time, and one thing I know is that I can't cut in straight to save my soul. So I use painting tape. But painting tape doesn't really work. The paint bleeds underneath no matter what you do. Well, ladies and gentlemen...that is a problem for the past. Introducing, FROGTAPE.

This stuff is awesome! It sticks without pulling paint off, and creates a tight seal. It feels just like painters tape but it actually works! It costs more, but after using it, I would pay 3 x the price...it really is that good. So I saved myself the aggrivation and just taped the whole room top to bottom! (Note to FROGTAPE: this plug is free...the next one you pay for!)

Now this is the part of the story, where I share a reno secret. (Pinterest followers take note!). In fact it is so good, I'm thinking of pitching it to Kevin O'Leary from Dragon's Den so we can partner-up and make m-o-n-e-y! Ready? Here it is. When using tape, whether drywall or painting tape, it is a real pain having to constantly put the roll down, pick it up, misplace it, pinch it between your knees, or under your arm pit, or in your teeth, or jam it into a tool belt... Whatever the case, the tape needs to be easily accessible and always within reach. To achieve this all you need is a coat hanger and some tape (I use electrical tape).
Bend the coat hanger into the shape of a child's park slide, use the roll itself to make sure it is of the proper width. If you bend too much, cut or snap it off and then tape the ends together. When done, slip it into your pants, hang the tape, and you are off and running...um, taping. Takes less then 2 mins to create. See pics below...


Once paint is dry, it was time to install the vanity/sink unit. When I slid it into place, I realized it was way too far away from the wall. I needed to cut chunks out of the quater round to slip the unit closer to the wall.


Next it was time to insert the new tap and connect all the plumbing. The sink drain pipe, did not match up directly with the existing drain pipe, So I needed to add several angled pieces to make it work. I used so much cement to seal it that any plumber would look at me like I was insane.
Following the sink, I installed the toilet. And yes, thanks to a Home Depot sale and a government rebate the toilet cost me just $4! Flushes are on me!

Next come the zillion little things. Towel bar, hand towel bar, clothing hooks, vanity light, mirror, switch plates, door hinges, door knob, and decorative picture (which we moved from the upstairs bathroom down to this one...it looks better here). Change the shower curtain, add towels, soap dispensers, bath salts, garbage pail, toilet scrub brush, bath mat, and basket of guest amenities....and
Before we get to the final reveal, remember the old...

So here it is..."ta-da"


I'd be amiss if I didn't point out the towels are a bee theme...bees on one set and honeycomb on the other.


So that's it for this little adventure. And now we have all four Bathrooms brought up to date.
Thanks for taking the time to check this out...I am now off to do a #2 and christen the room appropriately!
And may all your flushes be full ones.
K&K