Saturday, November 19, 2011

PROJECT: LIVING ROOM....WEEK 4...DONE!

It is Week 4 of Project: Living Room…the FINALE!

Alright here it is…the big reveal!
Ready? 
Scroll down and have a look at the finished product
>
>
>
>
>
>
>
>
>
>
>
>
>
>
>
>
>
>
>
>
>
>
>
>
>
>
>
>
>


Just Joking! Could you imagine!
(Now anything will look better won’t it!)


Anyway, here is the final product…enjoy! 


Here are some closeup shots of the main pieces. 


Yes, we decided to keep "Chairy"...for now. 


Take note of the U2 coffee table book...nice!


You are supposed to be looking at the rug in this shot. 


If you like the design and the furniture, be sure to let Pita know...it's really her house, we just pay the mortgage!  (She's the real attraction in any room anyway)


Well that is really the end of this little adventure. Thanks for taking a couple seconds out of your day to have a peak. 

Till the next project...

Bye!
K&K


Thursday, November 10, 2011

PROJECT: LIVING ROOM....WEEK 3

It is Week 3 of Project: Living Room….
…and I am relieved to say the construction work is finished. This past week I was on vacation and it is not the most thrilling thing to do, but I guess I’m not one for procrastination. Either that or I’m into self-persecution (dealers choice).

Anyway…when last we left off the accent wall had all its moulding slats nailed on. Now it is onto the more tedious part of the project. First up…all the joints had to be puttied.  Because the wall is not flat (it sort of ripples slightly), not all the moulding sits flush, so most of the verticaltal slats did not sit flush with the horizontal slats.  This made for a large sanding job after the putty dried.

Oh, in case you didn’t know…


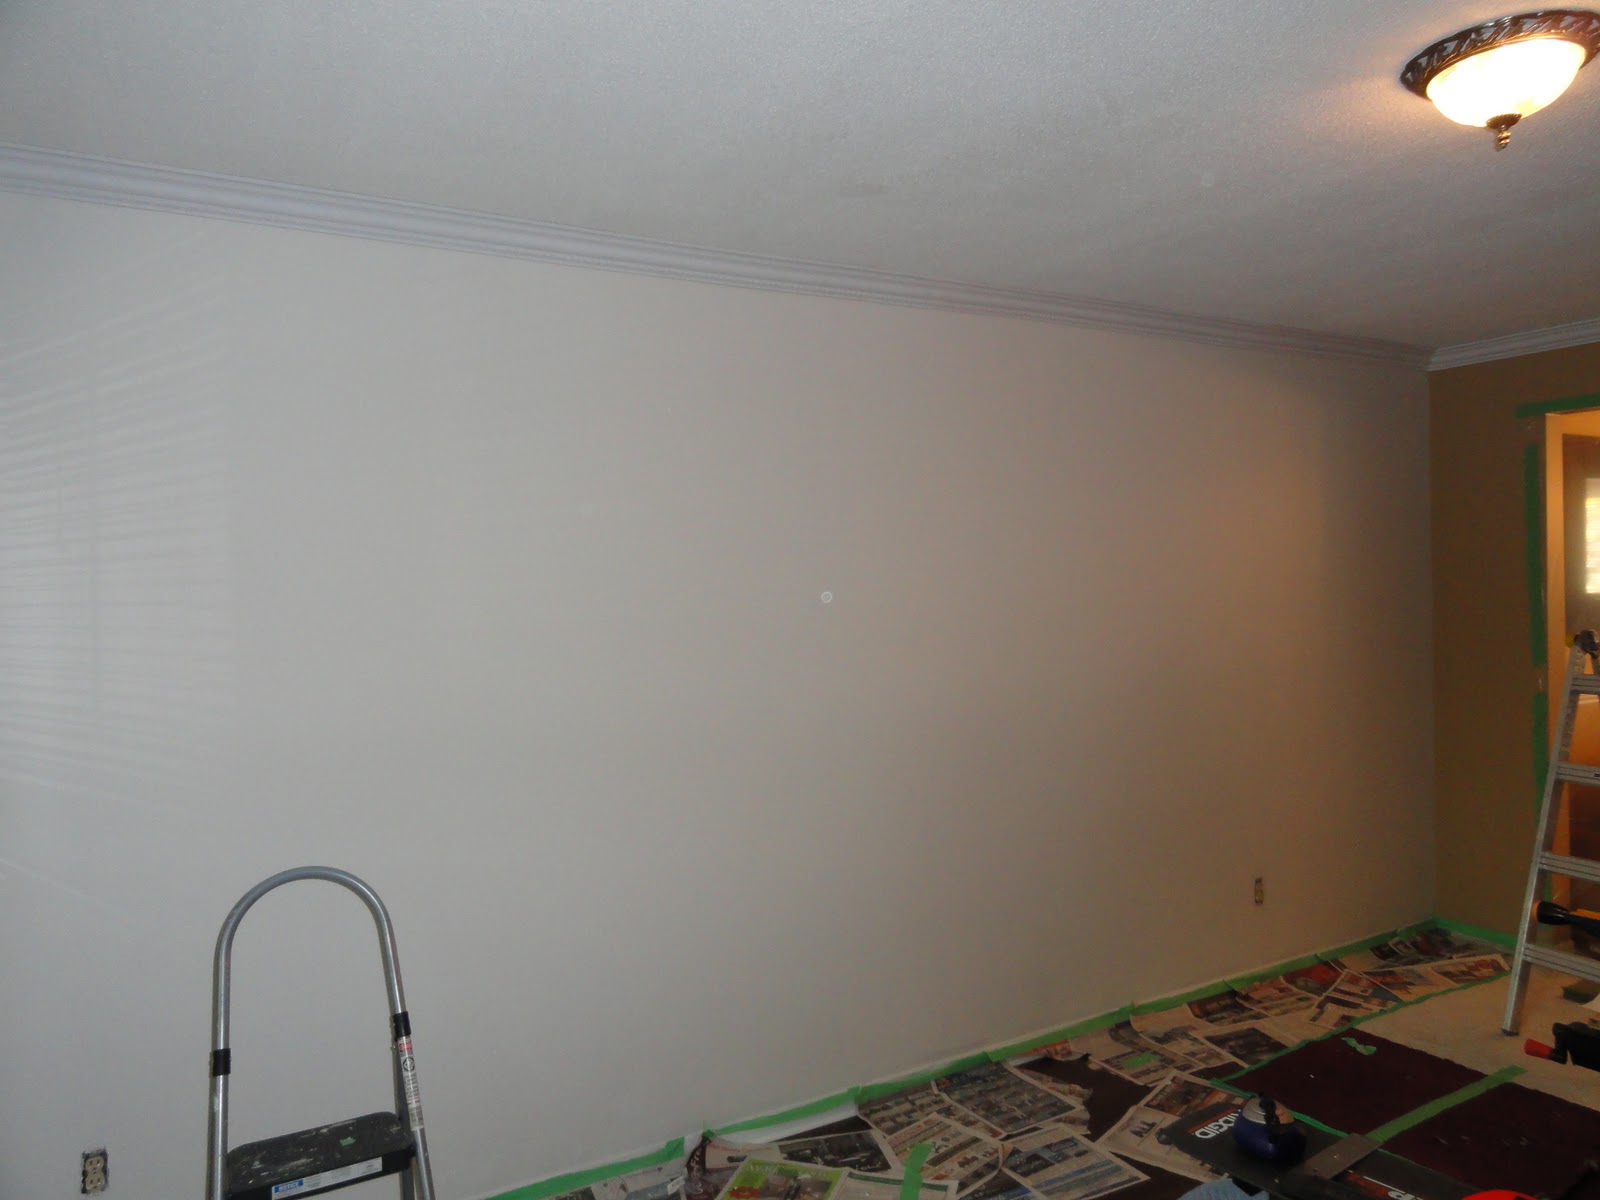
Anyway, when done, the wall looked something like this.


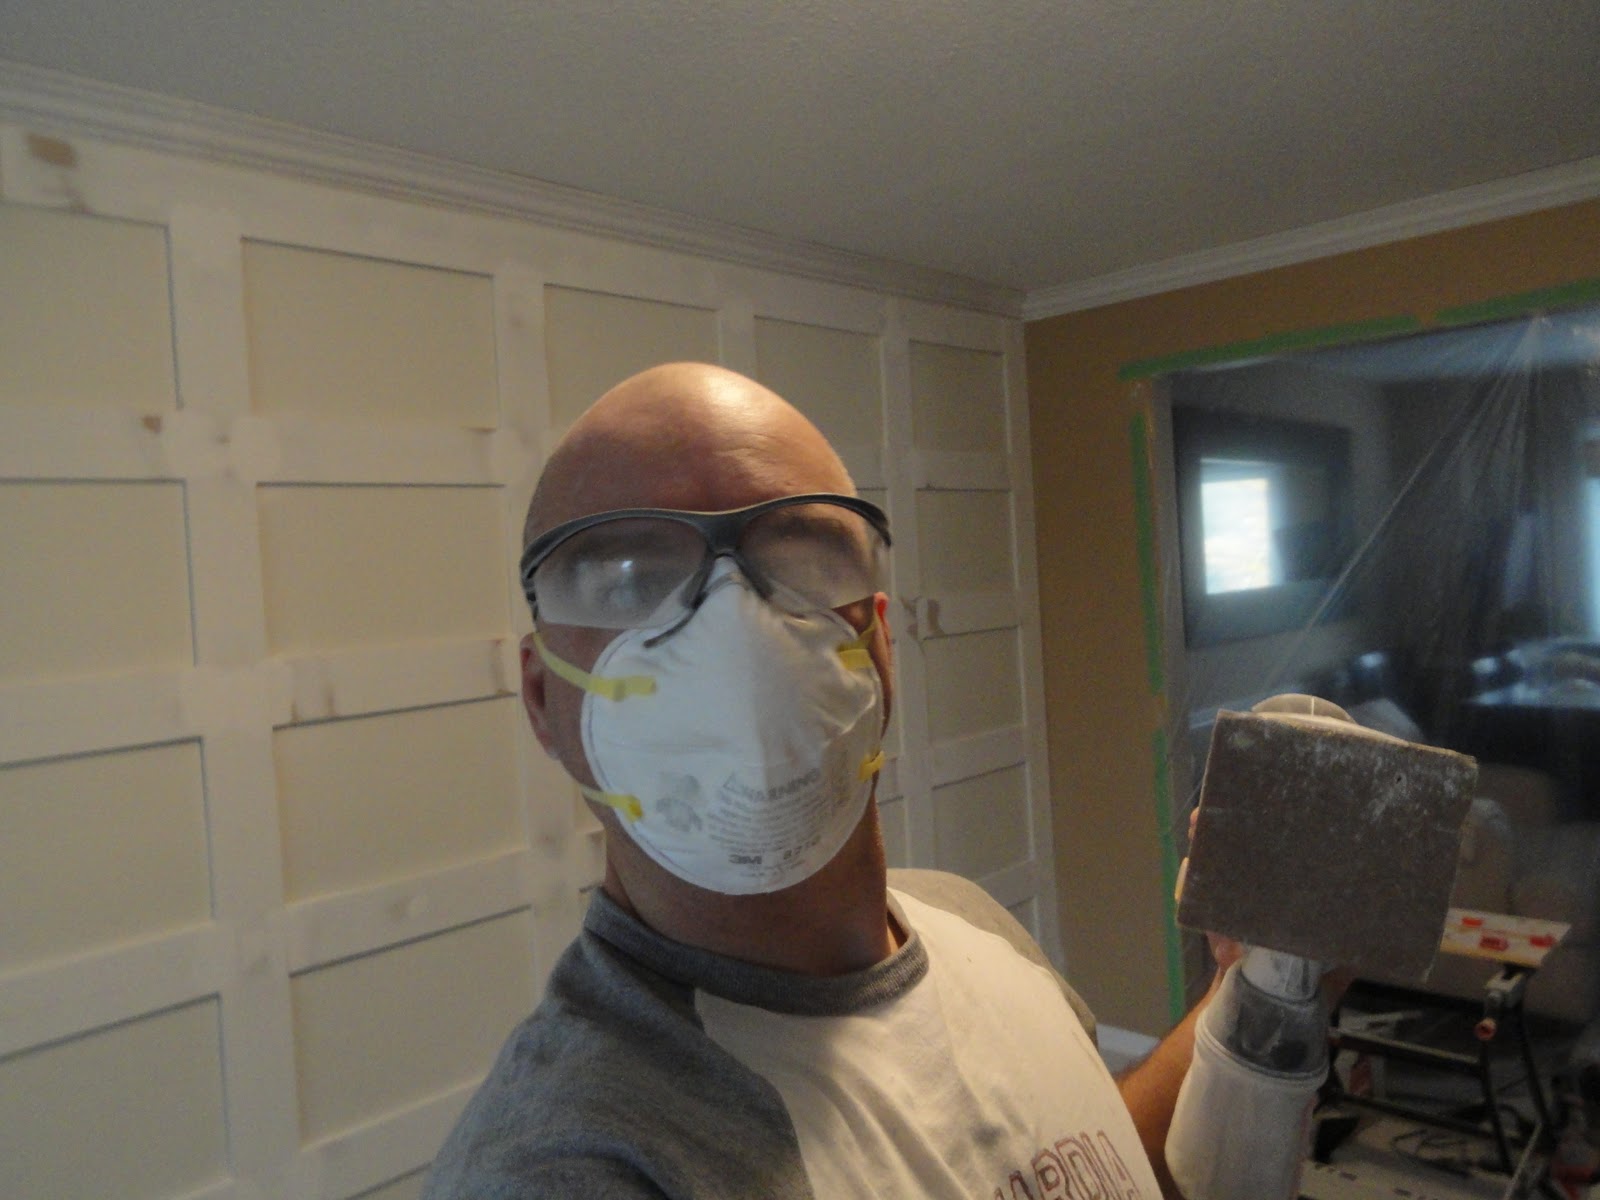
Up close this is what I was dealing with…


There was so much dust it was like working in a vacuum bag!  

Did I mention the wall was not flat? Anyway, the squares needed to be filled in otherwise the boxes looked like they were warping. So it’s time for my favourite thing ever…caulk! (if you’re the kind of person that reads out loud, I apologize for the preceding sentence…especially if you work in an office).  


Once you caulk you need to smooth it out by running your finger down it. With 40 squares, each having 4 sides…it was over 320 feet that I used my right index finger on…needless to say I had a minor blister.  


Next I had to putty and sand the crown moulding in the room. I have no pictures of this, but suffice to say it is the worst thing you can do. I now know that hell is not fire and brimstone, it is just room after room of crown moulding that needs to be puttied and sanded. Believe me, if instead of jail we made convicts install crown moulding our jails would be empty. I would have preferred to be publically flagellated.

Anyway, once the putty, sanding, and caulking was done it was time to paint. 


At several points I had to go back and re-sand as the putty was still visible in spots. So there was a lot of trial and error here.
It was a exhausting process (including a 2 ½ hour clean up!) but in the end I think the result was worth it. See for yourself:


Here are some stats:
14 pieces of sandpaper
1 tub + 1 tube of putty (600ml)
2 tubes of caulk
1 gallon of paint
23 pieces of MDF moulding board
9 pieces of crown moulding
144 nails
27 screws
1 band-aid

So that is it for the constructo stuff. Now all that's left is the decorating and beautifying. Furniture and accessories are arriving soon and once all is in place we’ll have one more blog update. 

K&K


Monday, November 7, 2011

PROJECT: LIVING ROOM....WEEK 2

Ok...so it is week 2 and at least 1/4 of the living room walls has undergone a major transformation.

The idea is to create an accent wall without using paneling, wallpaper, chair rail, contrasting paint color, or any of the other one hundred things that everyone else does. We decided to use the length of the wall to our advantage and create molding boxes on it (not 100% original, but I can only find 2 examples on the internet, so it can't be that common).

Since really there would only be one picture of the finished product, and that would make for a very short blog...I decided to take a few pictures along the way.

First, I framed the wall, and then hung the vertical slats.


Next comes the horizontal slats. These are much more precise cuts. There is lots of work with a footprint bevel and the Miter Saw. 

Measure, like a paranoid schizo!


Saw like a blind man. 

How cool is this nail gun.

So cool there is 2 shots! 

This is basically what it is going to look like...


Till next week...

K&K 


Sunday, October 30, 2011

PROJECT: LIVING ROOM!

We have been in the dwelling now over a year and that whole time the living room has been a vacant lot.
Well, hold on to your hats people, that is all about to change!

Welcome to the latest gallery/blog-- PROJECT: Living Room (it was to be called Operation: Awesome and Totally Rad!....but Kel veto'd that). Time to make it a usable space.

Cross your fingers...as this time we are doing it ourselves, no outside help.

So let's begin...here are the before shots!


So that's it. Floors and Walls. (By the way the White (super-duper-comfortable) Chair in the last shot is up for sale if anyone is interested.

Anyway, the first week saw a lot of work being done. And I am tired from it all, so there is not a lot of shots.

First we painted the large wall slightly-off white, and added Crown Molding to the whole room. If you've not done Crown Molding before....consider yourself blessed. It is a exhausting and aggravating ordeal. Right now it is up and filled-in. Next step for Crown will be sanding and painting, but that is not for a while.


It doesn't seem like a lot yet, but trust me, CM is not fun!

Anyway, there won't be any further updates for at least a week, so to tide you over, here are some other shots.

A Makeshift workshop in the living room.


Kelly helping out...not sure what she is measuring, but I bet it will be awesome!


And here is a hint of what is to come...any guesses?


Update you all soon....

Kev and Kel

Wednesday, June 1, 2011

RENO DAY #7

Well....we are 97% complete!

All the major work is now done.  Want to see?  Then let's go!

Remember the old Bathroom? With the Pink bathtub?


Well here is the update...


You will notice there is no glass on the shower yet...that is the last 3% yet to be done. But otherwise that is the Main Bathroom.

Now the Ensuite...remember it? The vinyl floor tile and the sea shell toilet seat?


Here is the new...


And finally the Powder Room.

Old...


And here it is with the new tiles.


Well that's it peeps!

I know the pictures don't do it justice, so if you really want to see it, you'll just have to pop by.

Consider this blog officially done! For those of you who were regular followers of our little adventure in home reno...appreciate the time you took checking it out.

Anyway, Debbie Travis is calling for some tips so we gots -ta-go!

Cheers!
K&K