So here we go...the End-of-Summer Reno on Bathroom #4 (and thankfully we have run out of Bathrooms to renovate). Everything is being replaced except the tub. It is a new-ish tub insert and we just decided to leave it. As this is the most unused bathroom in the whole house so we didn't want to spend too much money on it...so goal # 1 was hire cheap labor. Yup, this time I am doing the whole thing myself. And I hate doing bathrooms...they are a huge pain and anything but fun.
So let's see what we started with.

Now I know what you are thinking. Are you mad wanting to change this? Look at the awesome vanity. And that blue toilet seat...cool. And those vinyl tiles, stunning! (Believe it or not, this is what Kelly called "move-in-ready-no-work-required" when we first bought the house...talk about Buyers Blinders)

I mean, like seriously, even back in the day who would have picked this????
Time to start gutting:

First remove the sink and counter. And then...wait, what the???? In order to make the vanity stand sit flush with the wall, they cut a hole in the drywall and slipped the edge of the counter-top overhang into the wall. Dorks!!!! Who would do such a thing? Now I have to do a wall repair as part of the job. Arggg!

Second, remove the toilet (don't get any of the toilet wax ring on you!)

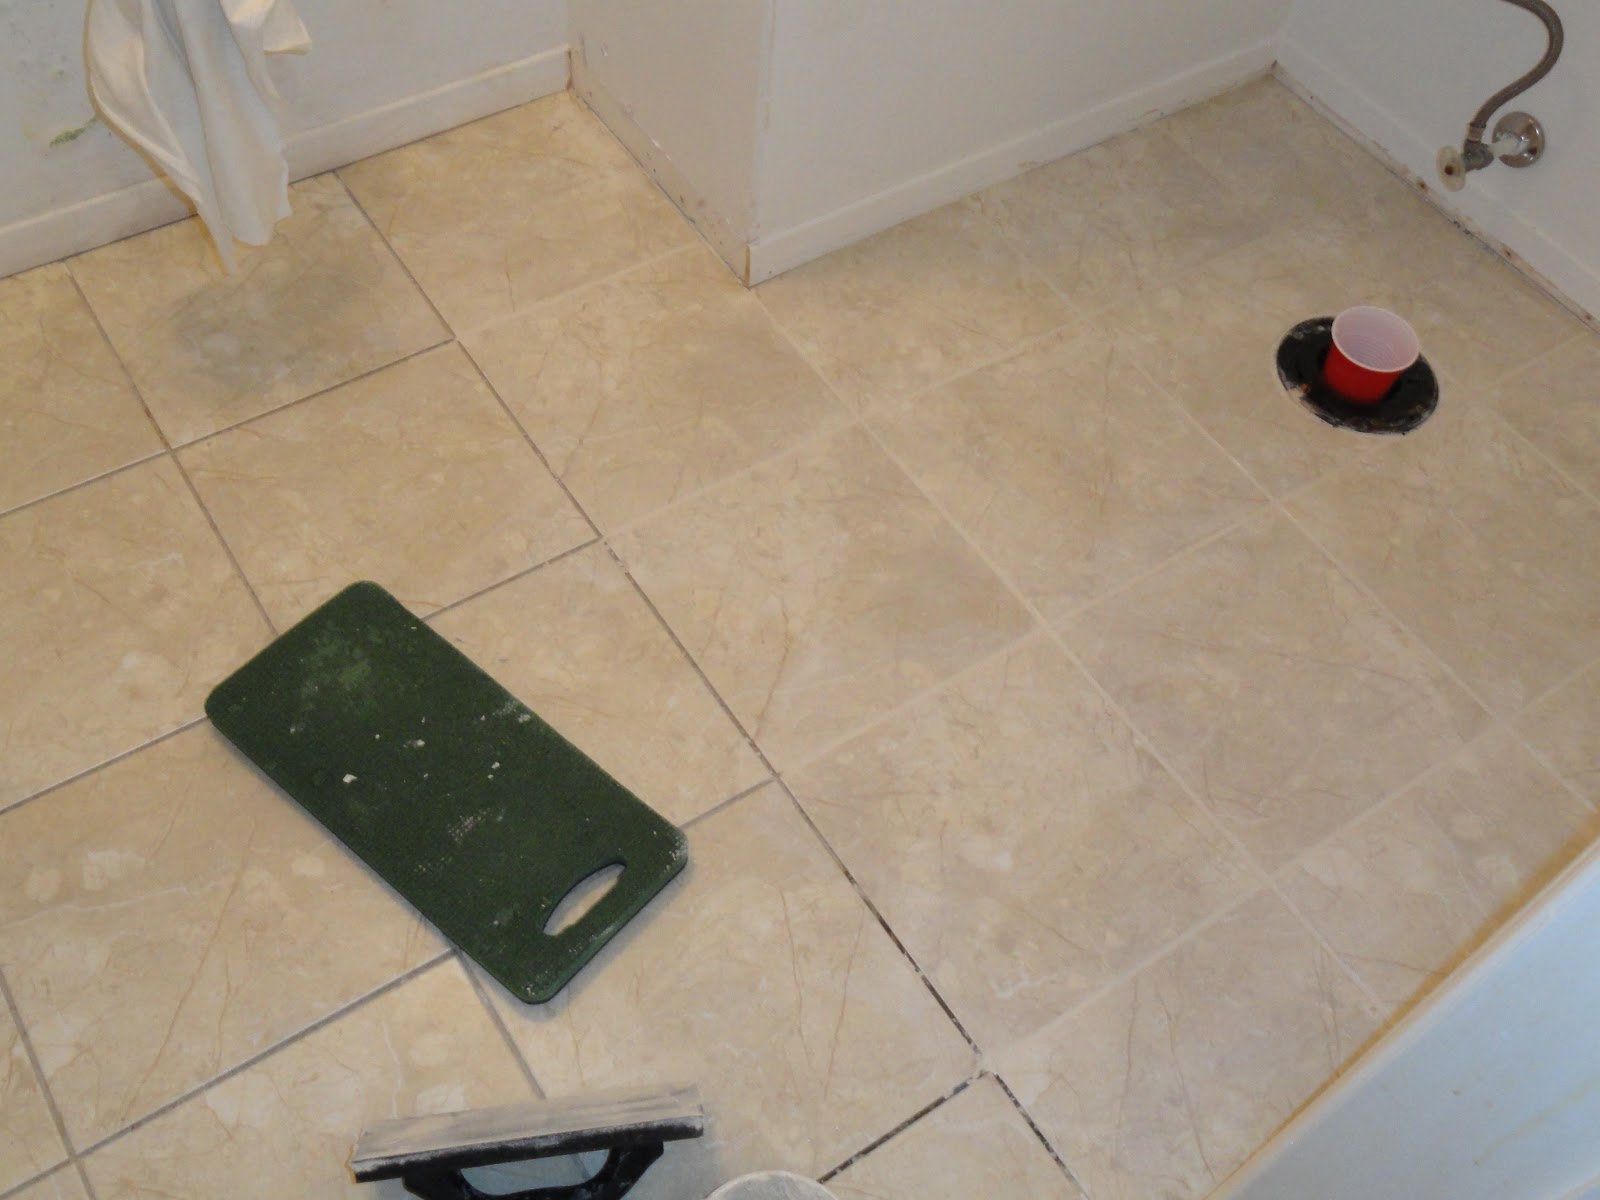
In case you are wondering, the cup is in the hole so the sewer vapors don't come up.
Next, time to remove the tile. Although it is possible to tile over existing tile, I thought it best, since some of the tiles were coming up, to take it right down to concrete. If you have never removed vinyl tile before, count yourself lucky. It is brutal. The only way to do it is to chip away till it breaks apart. I had a scrapper, but that was not doing the job. I needed to go out and get a chisel/crow-bar. Then you start chiseling away at the tile...slow, oh so painfully slow. And it takes a tole on your knees, back and ears (yes ears, in that small bathroom the high-pitch sound of the hammer striking chisel bounced around and drove me insane!). Once the tile is up, you need to scrap the floor removing all the old glue residue. It is a lot like trying to scrape gum off a shoe, except it is a whole floor.

Eventually you end up with this:


That big brown skid mark is where it looks like some concrete crack repair had been done.
With the room finally demo'd...it was time to start laying down new tile.
Because we are doing this el cheapo we decided to go with luxury vinyl tile. It has the look and texture of real tile, but--to now state the obvious--it isn't real tile. The big giveaway is that it doesn't get as cold as ceramic or porcelain tile. Also, to give it a more authentic look, I will be grouting between the tile, which means I had to lay it down with spacers.

One thing about the spacers: They don't really make spacers for vinyl tile that are the correct height, so I had to cut all the spacers by hand. How many? 158.


Once all the tiles are down you can begin to grout. I used a premixed grout with similar colour to that of the tile.
Here is a half-n-half shot:


Well, that's it for now...next up adding in quarter round and drywall repair.
Before I go, for those of you interested in how is the front lawn coming....here are two pics of the progress after only 7 days!!
^
^
^
^^
^
^
^
^
^
^
^
^
^


See you in a couple weeks....until then, "if women don't find you handsome, may they at least find you handy."
^
^
^
^
^


K&K


