Saturday, March 30, 2013

Project: Guest Suite

First thanks to everyone that has been checking out this adventure series in home renovation.
Let's go to the mail bag.

Jeff from Tampa Bay asks: What is your favorite type of screw head.
Good question Jeff. It is the Robinson. P. L. Robertson is Canadian and he invented this type of screw because it was easier to manufacture. However it has two other distinct advantages...the screw can hold the screwdriver in place easily without slipage and it is almost impossible to strip the screw head. However it never really caught on anywhere but Canada. So until the rest of the world wakes up...it is our country's best kept secret.

Thanks for the feedback and questions...keep them coming.


Now onto Project: Guest Suite.

The room was always just ok. Nothing special. See for yourself.


We decided to try and spice it up.

What you can't tell by the pictures above is that walls are actually wallpaper. An almost invisible pattern on them. I tried to take a picture, but it is hard to see just how bad it was. In direct light it looked like the walls were wet.


Anyway Step 1: Remove wallpaper.
Step 2: curse the fact that it didn't come off with standard methods of chemical and scrapper.


We were forced to rent a steam remover and take it off 1sq foot at a time. In the end it took us 16 hours to remove the paper backing. In places we were removing multiple layers of wallpaper,  making it almost unbearable. Tedious and frustrating doesn't begin to cover it.

But that wasn't the worst part. It became obvious that previous owners had decided to wallpaper over unfinshed parts of the drywall. And that meant the walls were in serious need of repair. So we spackled. A lot.


Then everything was sanded down and painted.

It looked a lot better. Those with good memories and eagle eyes, will remember our little bathroom downstairs. We liked the color so much we decided to go with it again in this room. If you are curious it is BEHR - Ocean Pearl


The next part is where I quickly realized that I married someone with similar qualities to my Mother. See, when my mother used to get "decorating ideas" that meant a lot of work for my Father (some men have 'the war' to keep them sleepless through the night...my dad has the rec-room of '84). Well...the circle of life is complete.

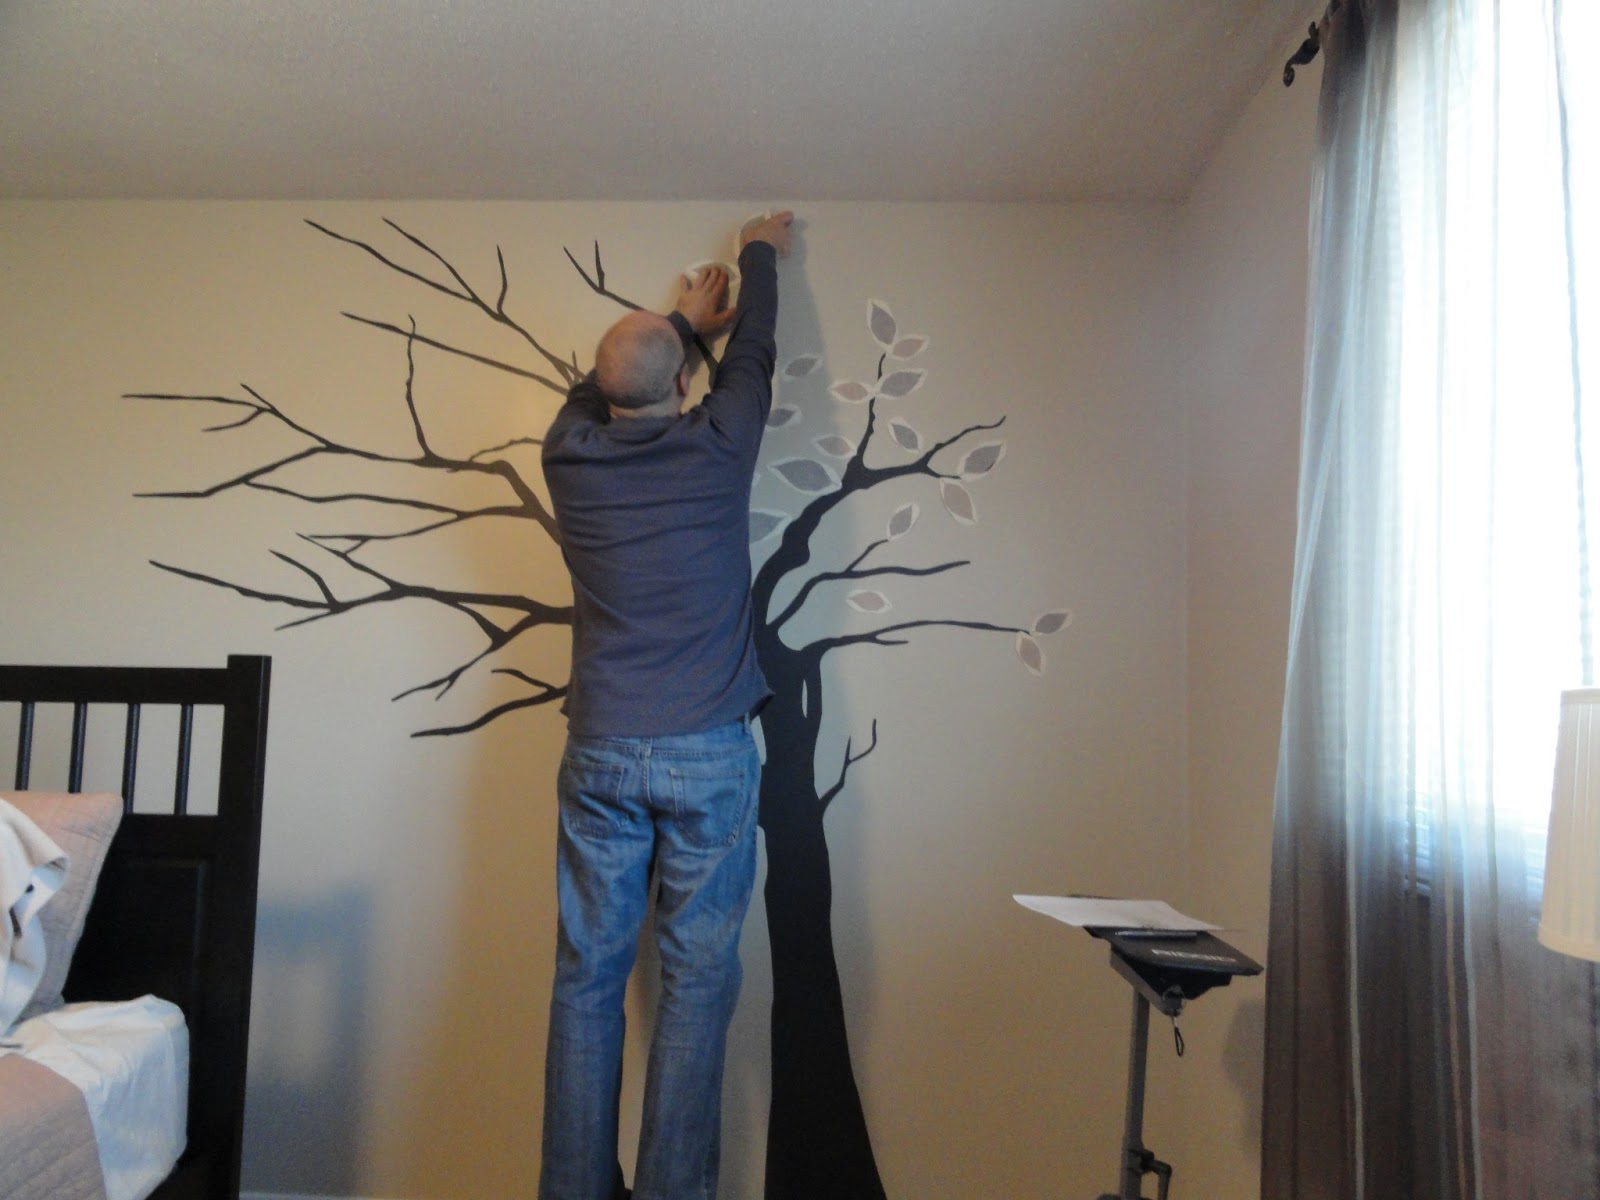
Kelly decided that she wanted to put something special on the wall. The 'WoW' factor. In the end she decided to go with a decal.

When the decal final arrived I thought it would come mostly assembled and we could just put it up a sheet at a time. Nope. Too easy. It's like they knew that I was going to be the one doing the work.
The decal came in pieces that need to be individually cut out. 226 individual pieces to be exact.


Anyway, once cut out, we used painters tape to stick them to wall in order to find the right placement. Once we had that it was time to peel and stick.

Here are some shots of the progress. (You will see the image coming together).


Then came the leaves. Oh the bloody leaves!


* For the record, the walls are standard height and I'm not standing on anything. (wink, wink)

Once in place it was time to peel and stick. It took 5 hours just to put all the leaves on.


Want to see the finished product?????

Not yet. Wait, there is more!

Once the decal was done the final, peace-de-pain-in-da-butt, is the adjoining wall need some further enhancement.

On this wall we hung some 3D decorative leaves to complete the atmosphere. Placing them was just as fun.


Just before the final reveal I will let you know what else we did.
The floor shelving unit was removed and the green chair we had in the den was brought up. The curtains replaced, the closet door knobs replaced, as well as the light fixture. And a brown rug for the floor.

So without further delay here are the pics of the final outcome.


The little hidden secret in the room is the leaves that fell on the floor by the chair.


Well, there it is. If you happen to stay over at our place this where you will end up. In the spring we hope some sparrows will nest here.

Hope you all enjoyed this one. Thanks for checking us out.

Kev and Kel


Sunday, September 9, 2012

Project: Bathroom #4 Reno - The Finale

Hunter S Thompson said, "Anything worth doing. It is worth doing right." I now know he was referring to Bathroom renovations. (well he could have been, what do you know!)

The job is complete. My back is sore, and I am beyond exhausted, but I dare say the end result is worth it. 

So, last time we were together the floor was just completed. In my mind, I thought...I'm 75% of the way there. How difficult could the rest of this be? Let's find out how wrong I was...

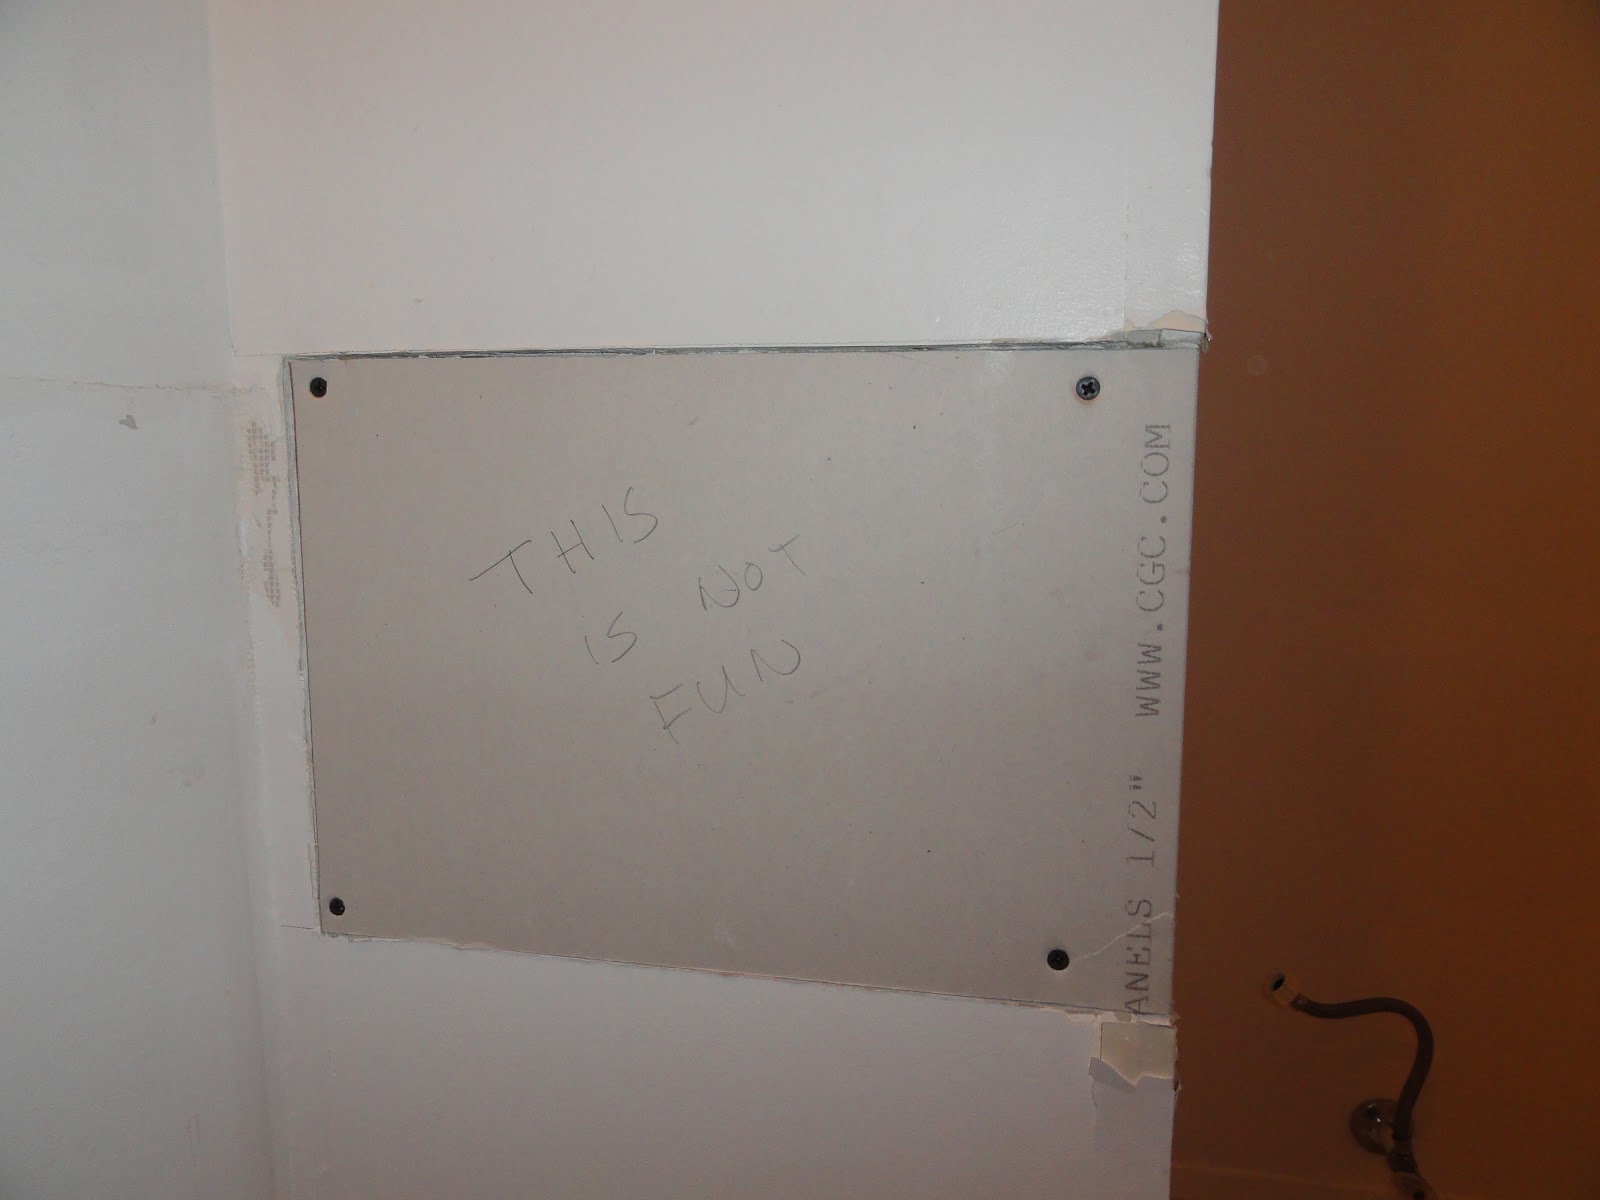
Ok, so remember the hole in the wall? The hole where the previous owners cut a groove in the drywall to slip the edge of the counter top into.


Well I had to repair it. The corner was damaged, which wouldn't be a big deal if they had used corner bead, but it was just corner tape with metal. And that metal is impossible to cut without bending it out of shape. So, off it came. Next cut out a larger area, enough to hold a big chunk of drywall. Mud, tape, sand, mud and sand again, and then sand again. P.S. drywall mud takes forever to dry.


I didn't take a picture of it, but while it was drying I cut quarter round for the floor and used a nail gun to attach it. The best thing about owning a power Mitre saw is the speed of doing quarter round. The whole room took less then 10 minutes time start to finish.

Anyway, once drywall is all sanded, it is time to paint. I've done a lot of painting in my time, and one thing I know is that I can't cut in straight to save my soul. So I use painting tape. But painting tape doesn't really work. The paint bleeds underneath no matter what you do. Well, ladies and gentlemen...that is a problem for the past. Introducing, FROGTAPE.


This stuff is awesome! It sticks without pulling paint off, and creates a tight seal. It feels just like painters tape but it actually works! It costs more, but after using it, I would pay 3 x the price...it really is that good. So I saved myself the aggrivation and just taped the whole room top to bottom! (Note to FROGTAPE: this plug is free...the next one you pay for!)


Now this is the part of the story, where I share a reno secret. (Pinterest followers take note!). In fact it is so good, I'm thinking of pitching it to Kevin O'Leary from Dragon's Den so we can partner-up and make m-o-n-e-y! Ready? Here it is. When using tape, whether drywall or painting tape, it is a real pain having to constantly put the roll down, pick it up, misplace it, pinch it between your knees, or under your arm pit, or in your teeth, or jam it into a tool belt... Whatever the case, the tape needs to be easily accessible and always within reach. To achieve this all you need is a coat hanger and some tape (I use electrical tape).
Bend the coat hanger into the shape of a child's park slide, use the roll itself to make sure it is of the proper width. If you bend too much, cut or snap it off and then tape the ends together. When done, slip it into your pants, hang the tape, and you are off and running...um, taping. Takes less then 2 mins to create. See pics below...


Once your taped up it's time to paint. I'll show you what the hole in the drywall looked like once finished painting. If you can't find it...then I'll take that as a compliment.


Once paint is dry, it was time to install the vanity/sink unit. When I slid it into place, I realized it was way too far away from the wall. I needed to cut chunks out of the quater round to slip the unit closer to the wall.


Next it was time to insert the new tap and connect all the plumbing. The sink drain pipe, did not match up directly with the existing drain pipe, So I needed to add several angled pieces to make it work. I used so much cement to seal it that any plumber would look at me like I was insane.

Following the sink, I installed the toilet. And yes, thanks to a Home Depot sale and a government rebate the toilet cost me just $4! Flushes are on me!


Next come the zillion little things. Towel bar, hand towel bar, clothing hooks, vanity light, mirror, switch plates, door hinges, door knob, and decorative picture (which we moved from the upstairs bathroom down to this one...it looks better here).  Change the shower curtain, add towels, soap dispensers, bath salts, garbage pail, toilet scrub brush, bath mat, and basket of guest amenities....and before you know it hours of pain-in-the-butt tasks later you have a finished bathroom....

Before we get to the final reveal, remember the old...


So here it is..."ta-da"


I'd be amiss if I didn't point out the towels are a bee theme...bees on one set and honeycomb on the other.


So that's it for this little adventure. And now we have all four Bathrooms brought up to date.

Thanks for taking the time to check this out...I am now off to do a #2 and christen the room appropriately!

And may all your flushes be full ones.

K&K


Sunday, August 26, 2012

Project: Bathroom #4 Reno

A normal person after chopping down a giant tree in the front lawn and then spending a weekend re-seeding, would probably call it a summer and start enjoying what is left of the sun and warm weather; maybe spend some time in the pool. But alas...I am an idiot.

So here we go...the End-of-Summer Reno on Bathroom #4 (and thankfully we have run out of Bathrooms to renovate). Everything is being replaced except the tub. It is a new-ish tub insert and we just decided to leave it. As this is the most unused bathroom in the whole house so we didn't want to spend too much money on it...so goal # 1 was hire cheap labor. Yup, this time I am doing the whole thing myself. And I hate doing bathrooms...they are a huge pain and anything but fun.

So let's see what we started with.


Now I know what you are thinking. Are you mad wanting to change this? Look at the awesome vanity. And that blue toilet seat...cool. And those vinyl tiles, stunning! (Believe it or not, this is what Kelly called "move-in-ready-no-work-required" when we first bought the house...talk about Buyers Blinders)


 I mean, like seriously, even back in the day who would have picked this????

Time to start gutting: 


First remove the sink and counter. And then...wait, what the???? In order to make the vanity stand sit flush with the wall, they cut a hole in the drywall and slipped the edge of the counter-top overhang into the wall. Dorks!!!! Who would do such a thing? Now I have to do a wall repair as part of the job. Arggg!


Second, remove the toilet (don't get any of the toilet wax ring on you!)


In case you are wondering, the cup is in the hole so the sewer vapors don't come up. 

Next, time to remove the tile. Although it is possible to tile over existing tile, I thought it best, since some of the tiles were coming up, to take it right down to concrete. If you have never removed vinyl tile before, count yourself lucky. It is brutal. The only way to do it is to chip away till it breaks apart. I had a scrapper, but that was not doing the job. I needed to go out and get a chisel/crow-bar. Then you start chiseling away at the tile...slow, oh so painfully slow. And it takes a tole on your knees, back and ears (yes ears, in that small bathroom the high-pitch sound of the hammer striking chisel bounced around and drove me insane!). Once the tile is up, you need to scrap the floor removing all the old glue residue. It is a lot like trying to scrape gum off a shoe, except it is a whole floor. 


Eventually you end up with this: 


That big brown skid mark is where it looks like some concrete crack repair had been done. 

With the room finally demo'd...it was time to start laying down new tile. 

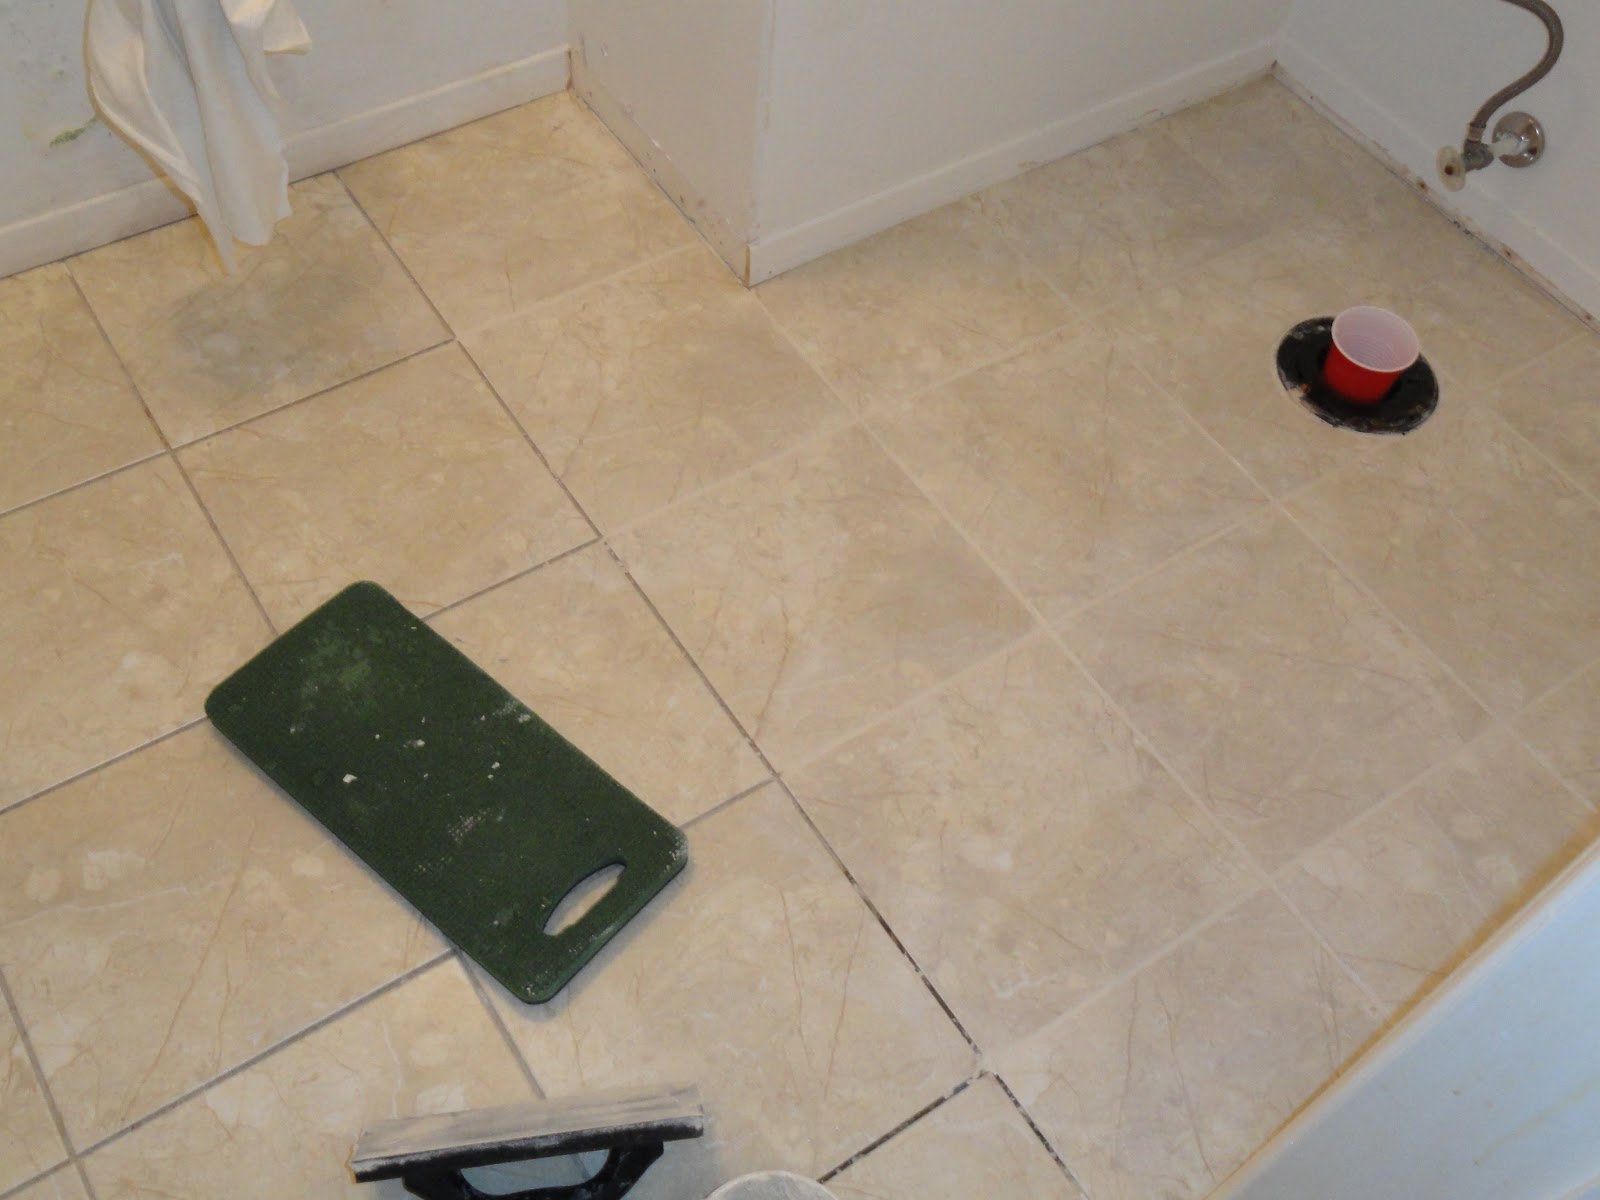
Because we are doing this el cheapo we decided to go with luxury vinyl tile. It has the look and texture of real tile, but--to now state the obvious--it isn't real tile. The big giveaway is that it doesn't get as cold as ceramic or porcelain tile. Also, to give it a more authentic look, I will be grouting between the tile, which means I had to lay it down with spacers. 


One thing about the spacers: They don't really make spacers for vinyl tile that are the correct height, so I had to cut all the spacers by hand. How many? 158. 


Once all the tiles are down you can begin to grout. I used a premixed grout with similar colour to that of the tile. 

Here is a half-n-half shot:


Some pics of the finished floor:


Well, that's it for now...next up adding in quarter round and drywall repair. 

Before I go, for those of you interested in how is the front lawn coming....here are two pics of the progress after only 7 days!!

^
^
^
^
^
^
^
^
^
^
^
^
^
^


See you in a couple weeks....until then, "if women don't find you handsome, may they at least find you handy."

K&K


Sunday, August 19, 2012

TIMBER 2012 Part Deux

Ok, so it has been a few weeks and it is time to update what has happened with the tree removal.

We needed to get the stump removed. For that you need someone to grind it away. They use a lawn mower type contraption with a huge vertical spinning blade on the end and slowly shave the stump away. They start at one side and and grind away till they reach the other side, then do the roots.
I have no pics as it was done while we were at work. It took a long time for them to arrive as apparently they were waiting for the city to inform them of where the underground pipes and cable are. 6 phone calls later and 2 very stern voice mails where I threatened to leave a scathing review of the company on HomeStars.com (which is the best place to review any contractors before you hire them by the way) and they finally came out. I guess they were cheap for a reason.

In the end they did good work, left us with a large crater and a pile of dirt/wood-chips.


Next step was a grueling 9 hour adventure. 1st, try and rake up as many of the wood chips as possible, and then shovel the dirt to fill the craters. Needless to say, every time I took a shovel full and spread it around it just kept revealing more and more wood chips. Its not bad to have wood chips in the soil, they are good for maintaining a moist soil while trying to grow grass, but the amount of chips was ridiculous. So the pattern of shovel, hoe, rake, shovel, hoe, rake, continued for hours (7 brown-bags of wood chips), until I had a semblance of flat ground. 


Now it is time to try and do something with this landfill. We opted to just seed it to try and grow some grass. But because it was once a pine tree, and hundreds of thousands of needles that had fallen over the years had made the ground Ph very acidic. So first a layer of lime to try and stabilize the ground. Then a layer of top soil and then the grass seed. 


Then another layer of top soil and rake evenly. It took 21 bags of top soil to do this 30 sq feet of area. 


Anyway all you do is add water and let mother nature do its thing. 

4 hours later I saw this....

^
^
^
^
^
^
^
^
^
^
^
^
^
^
^
^
^
^
^
^
^
^
^
^
^


Ha! I wish. 

For now we will have to live with the big pile of dirt and hope the squirrels don't each too much of the seed, and the nights don't get to cold. 

Anyways...if anything grows I'll post some pics. 

K&K